

Being close to summer, you may be switching out your cozy winter wardrobe to your breezy summer wardrobe. However, if you have a little one in your household it is likely that anything that would have fit them last summer will no longer fit them this year. At the same time, the long sleeve shirts that they wore all winter are likely not to be sustainable to wear during the sweltering summer months. Converting long sleeve shirts to t-shirts is the solution to this problem.
To extend the life of long sleeve shirts worn all winter and avoid obtaining new clothes, long sleeve shirts can easily be converted to short sleeve shirts. Turning a long sleeve shirt into a short sleeve shirt only takes a handful of supplies and a short period of time.
The Supplies
-Long Sleeve Shirt to convert
-Fabric Scissors
-Pins
-Sewing Chalk
-Ruler
-Needle and Thread or Sewing Machine
-Short Sleeve Shirt
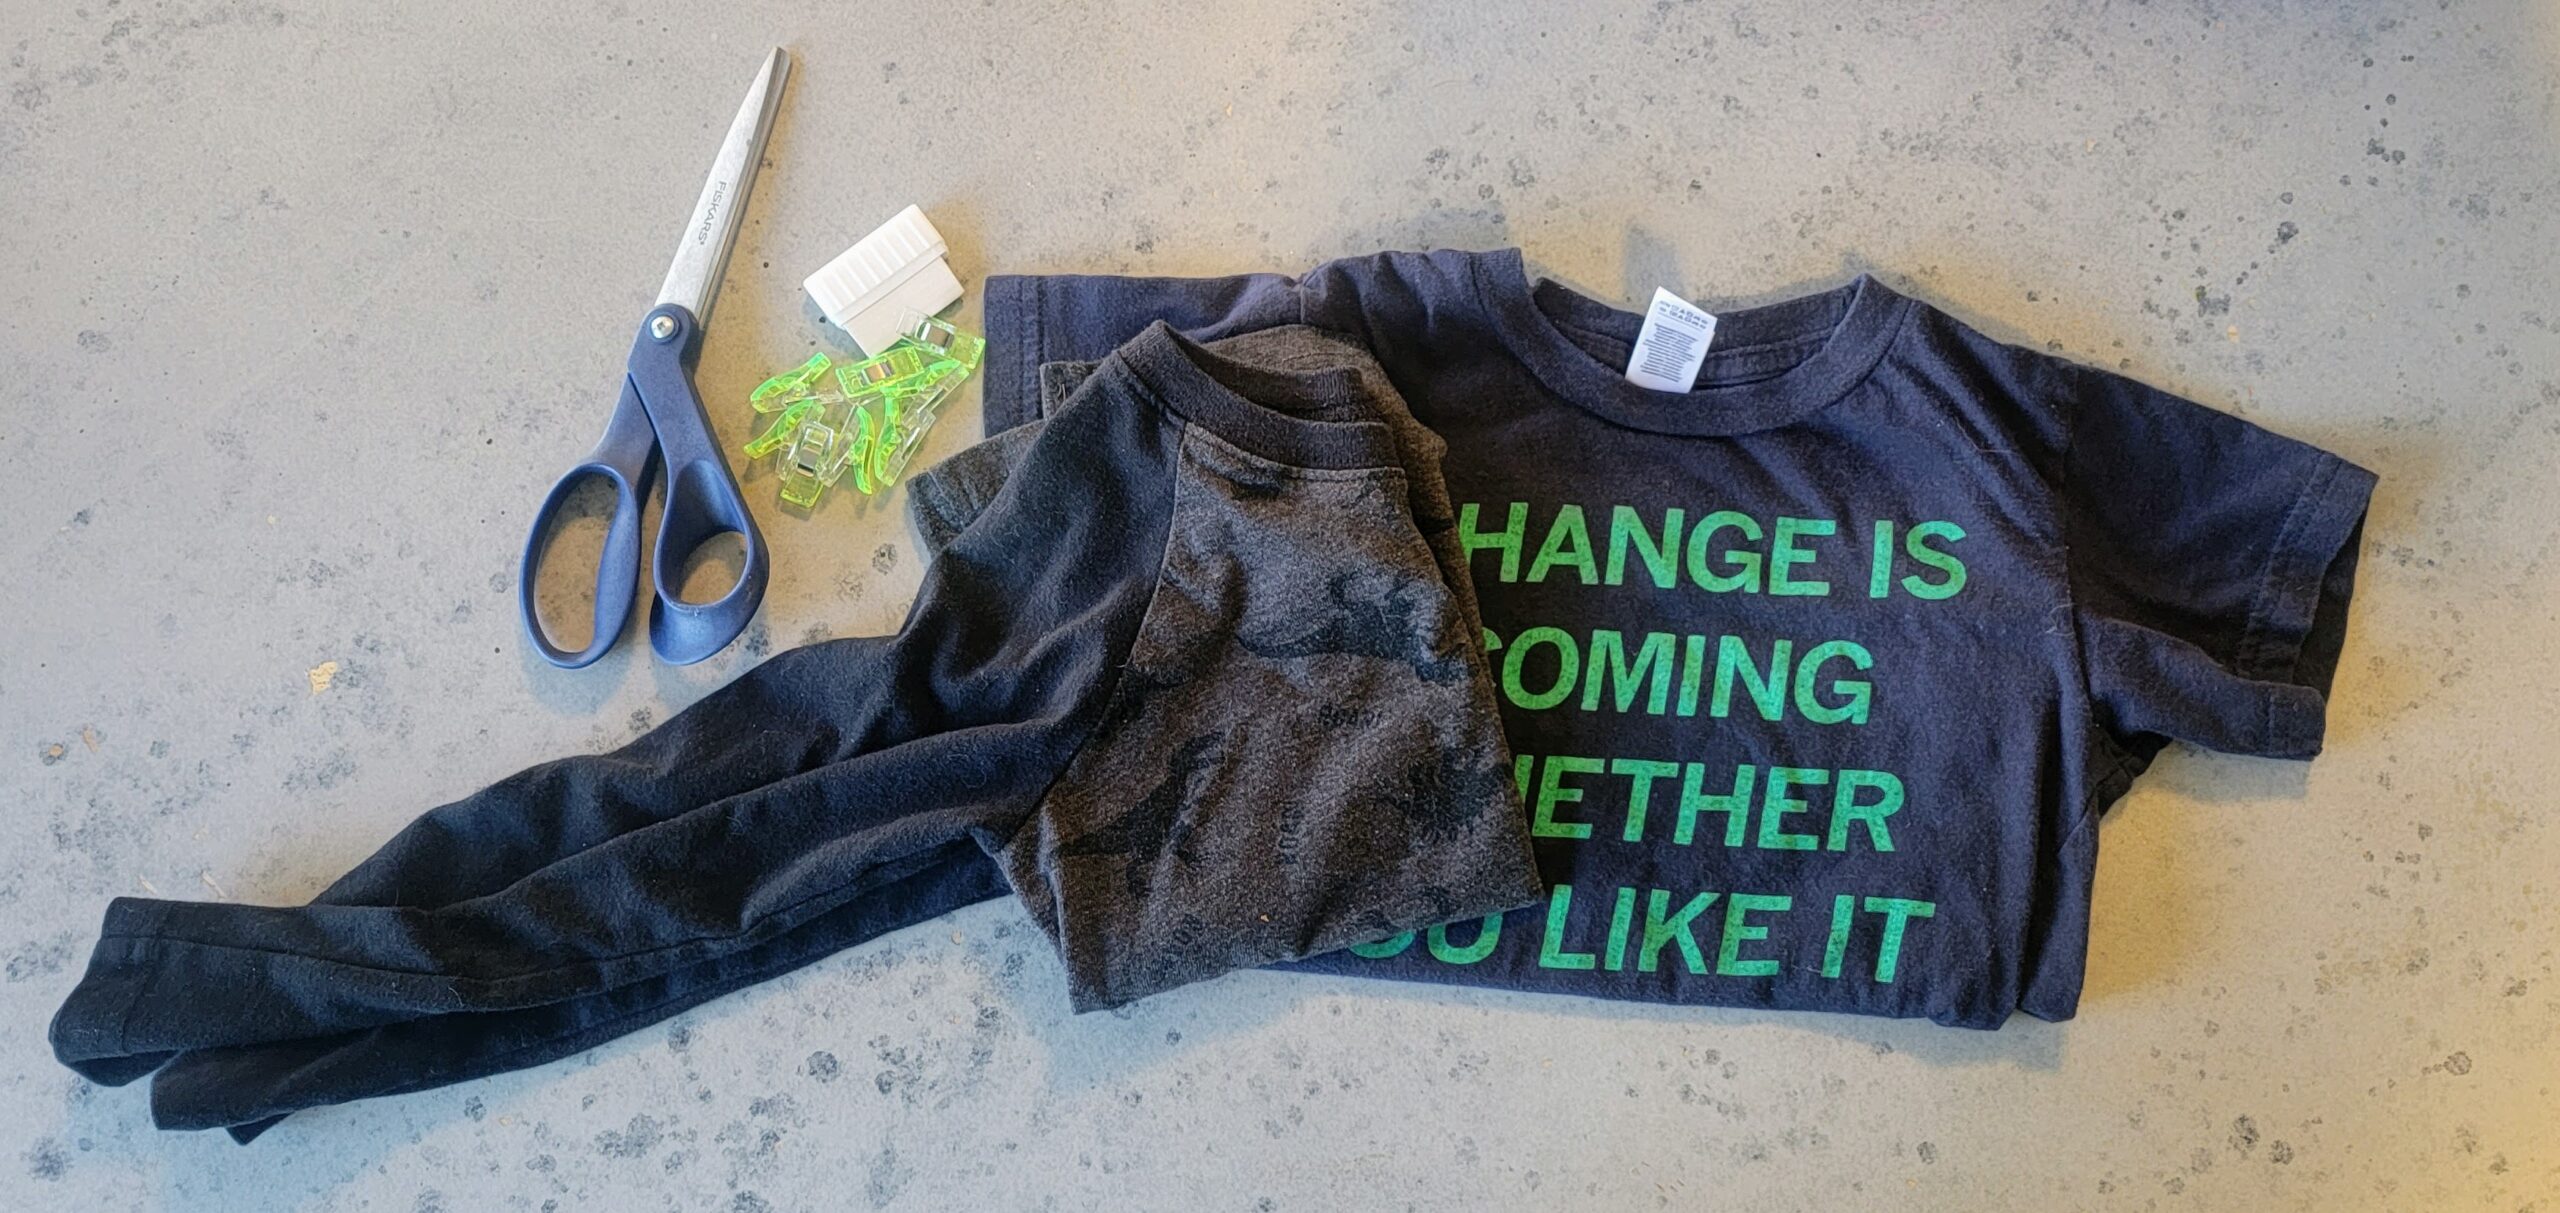
Materials needed for this project
The Prep
Step one in converting long sleeve shirts is determining how long you want the sleeves on the shirt to be. I have found that the best way to do this is by using another shirt that already has the desired sleeve length. Fold both shirts in half, doing your best to line up the sleeves and edge. Put the short sleeve shirt on top of the long sleeve shirt. Once again, do your best to line up the edges and collar.
Once everything is lined up, draw a line about ½ inch to 1 inch from the end of the short sleeve shirt.
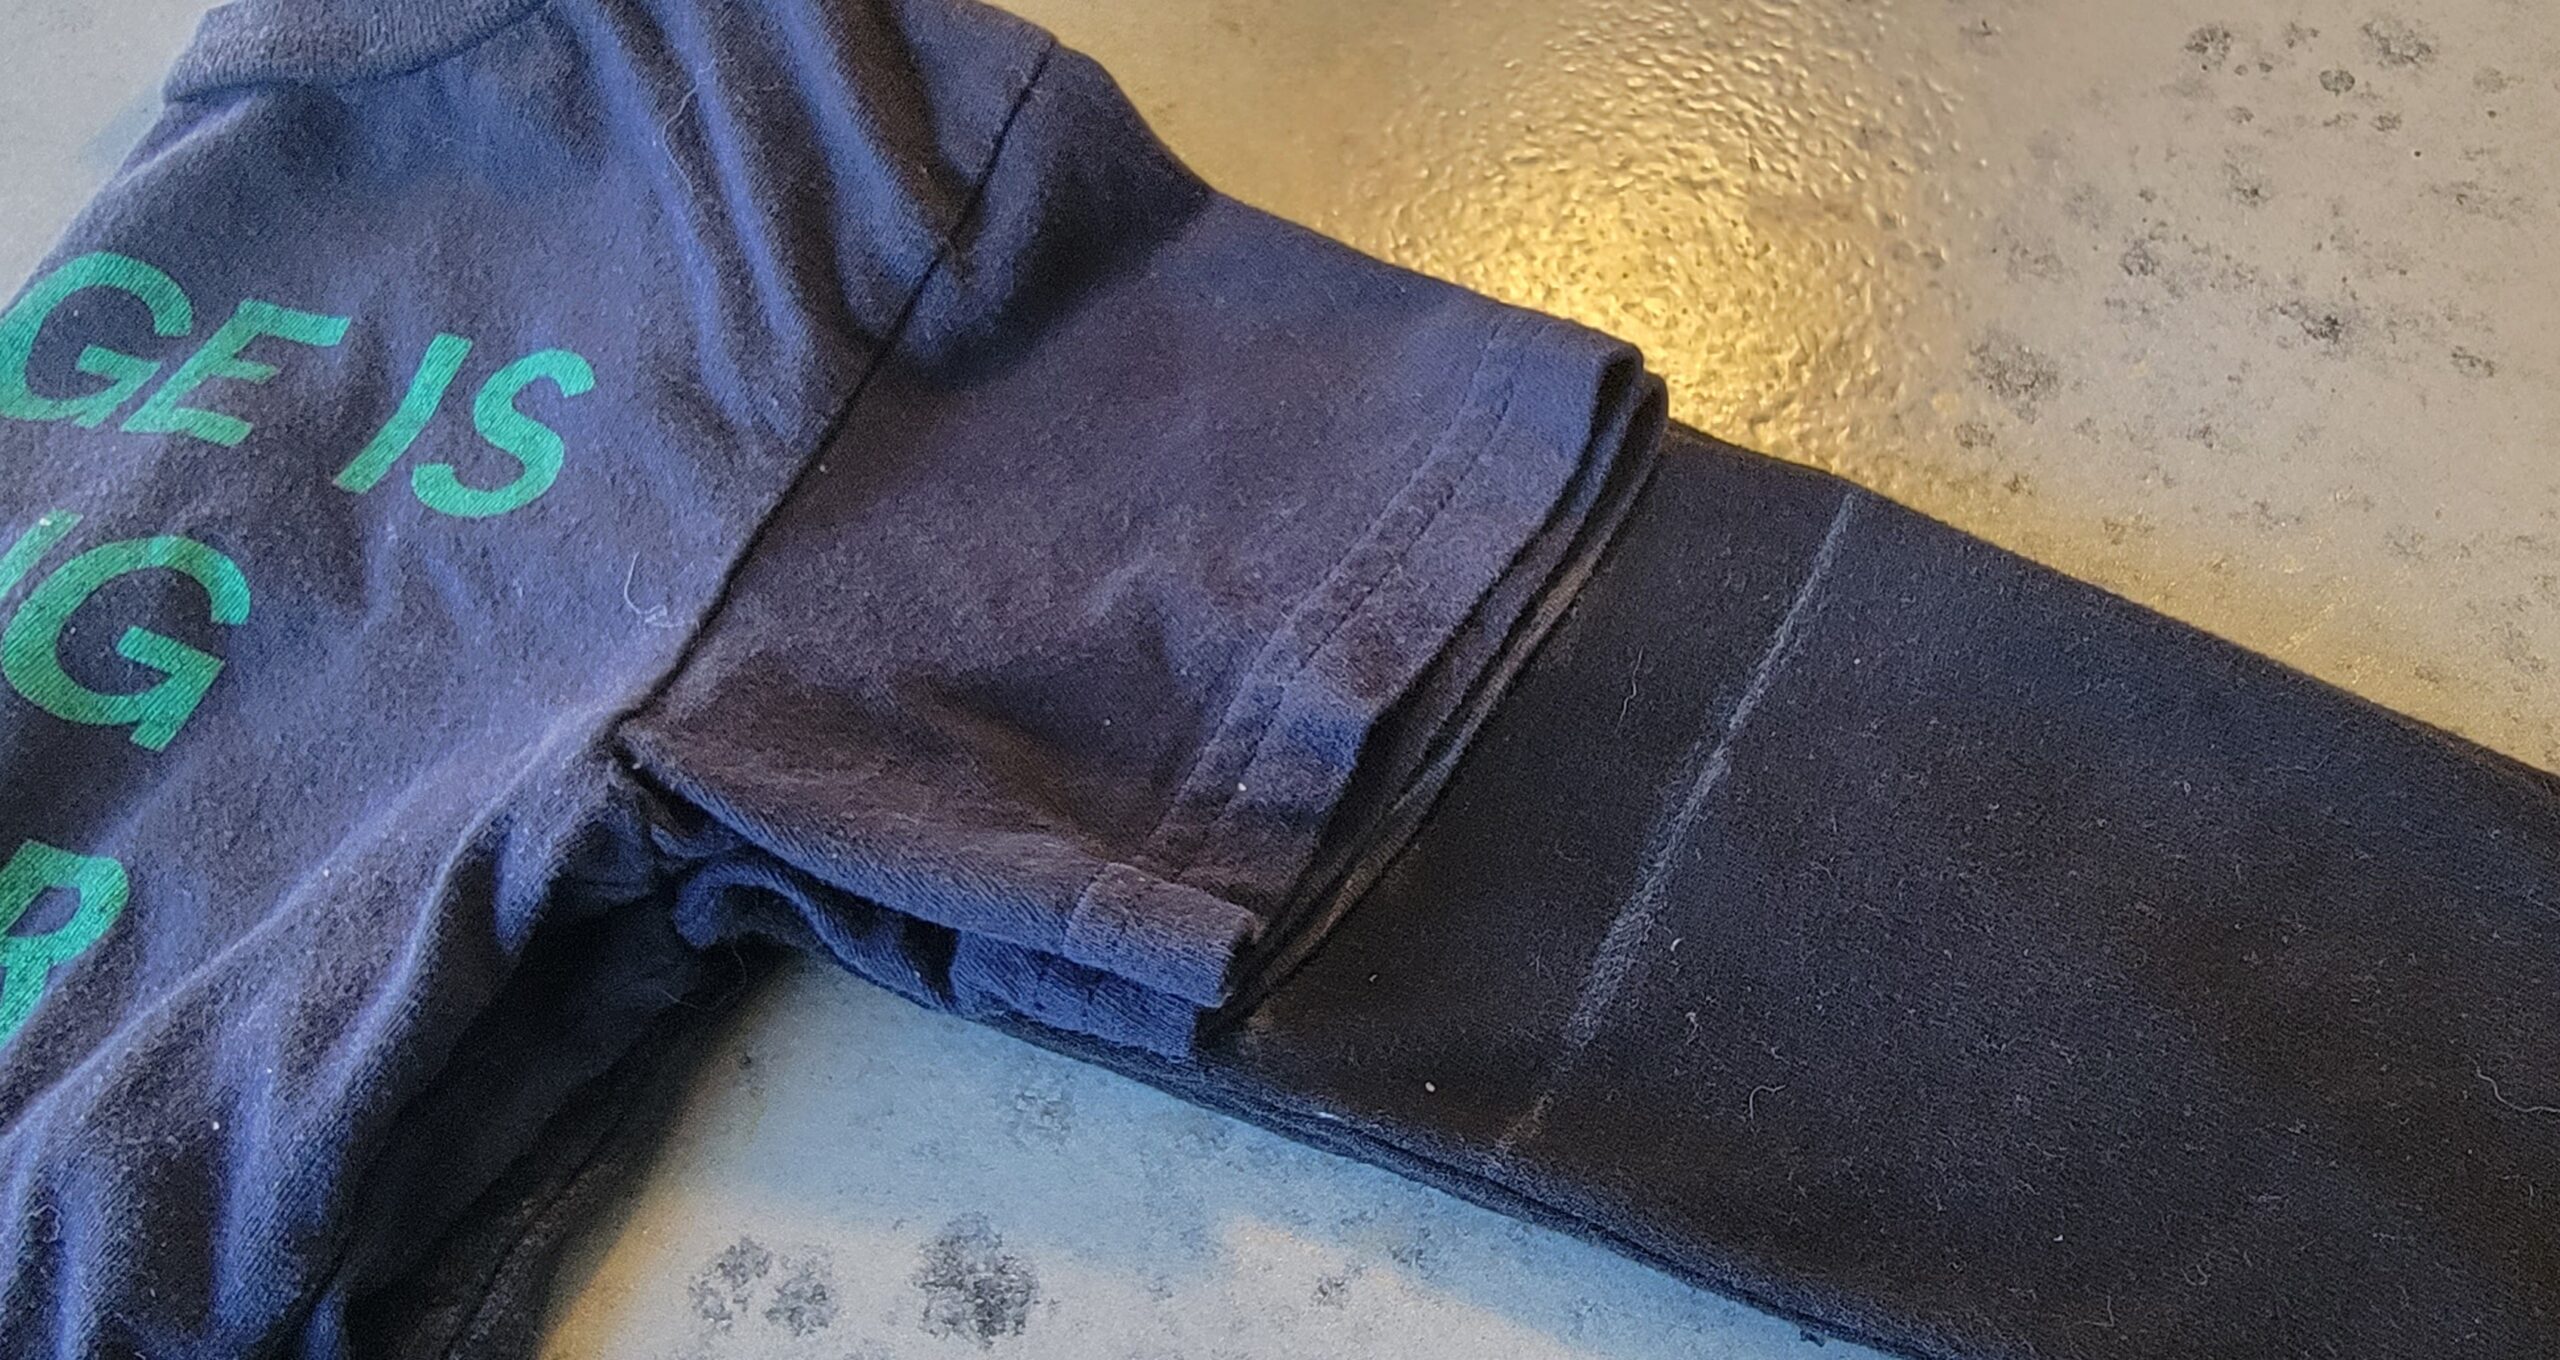
Chalk line guide for cutting
If this is a shirt that is gonna be worn by your kiddo, you can cut through both sleeves. If this is a shirt that will be worn for many summers, I would cut one sleeve at a time. Flip both of the shirts over and draw another line on the other sleeve. I did my best to make sure everything was flat and even then cut through both sleeves.
Depending on the type of fabric your shirt is made of, it will be possible to simply wear the new short sleeve shirt as is because the fabric won’t unravel. However, since I want this new short sleeve shirt to last at least through until the end of the summer I finished the edges of the sleeves.
To finish the sleeves, I simply folded up the edges of the shirt and pinned everything in place. For a more professional looking seam I would suggest using a French seam.

Old long sleeve shirts with sleeves pinned for sewing
The Sewing
I used a sewing machine for this project, and a zig-zag stitch because it is my preferred stitch. If your shirt is made of a fabric that has a stretch, I recommend using a zig-zag stitch. When using a sewing machine, this project only takes about fifteen minutes to complete. If hand sewing, it would take more time. However, because this is a small project it should still take less than an hour to complete.
Once you are finished sewing the sleeves your little project is done! You now have a new short sleeve shirt to wear in the warm weather. Make sure to save the fabric scraps from the sleeves for other projects. Depending on the size of the old sleeves, the fabric scraps can be used for a variety of things. They can be used to patch other items of clothing, for rags, or in our case we let Little Dude practice his cutting skills.
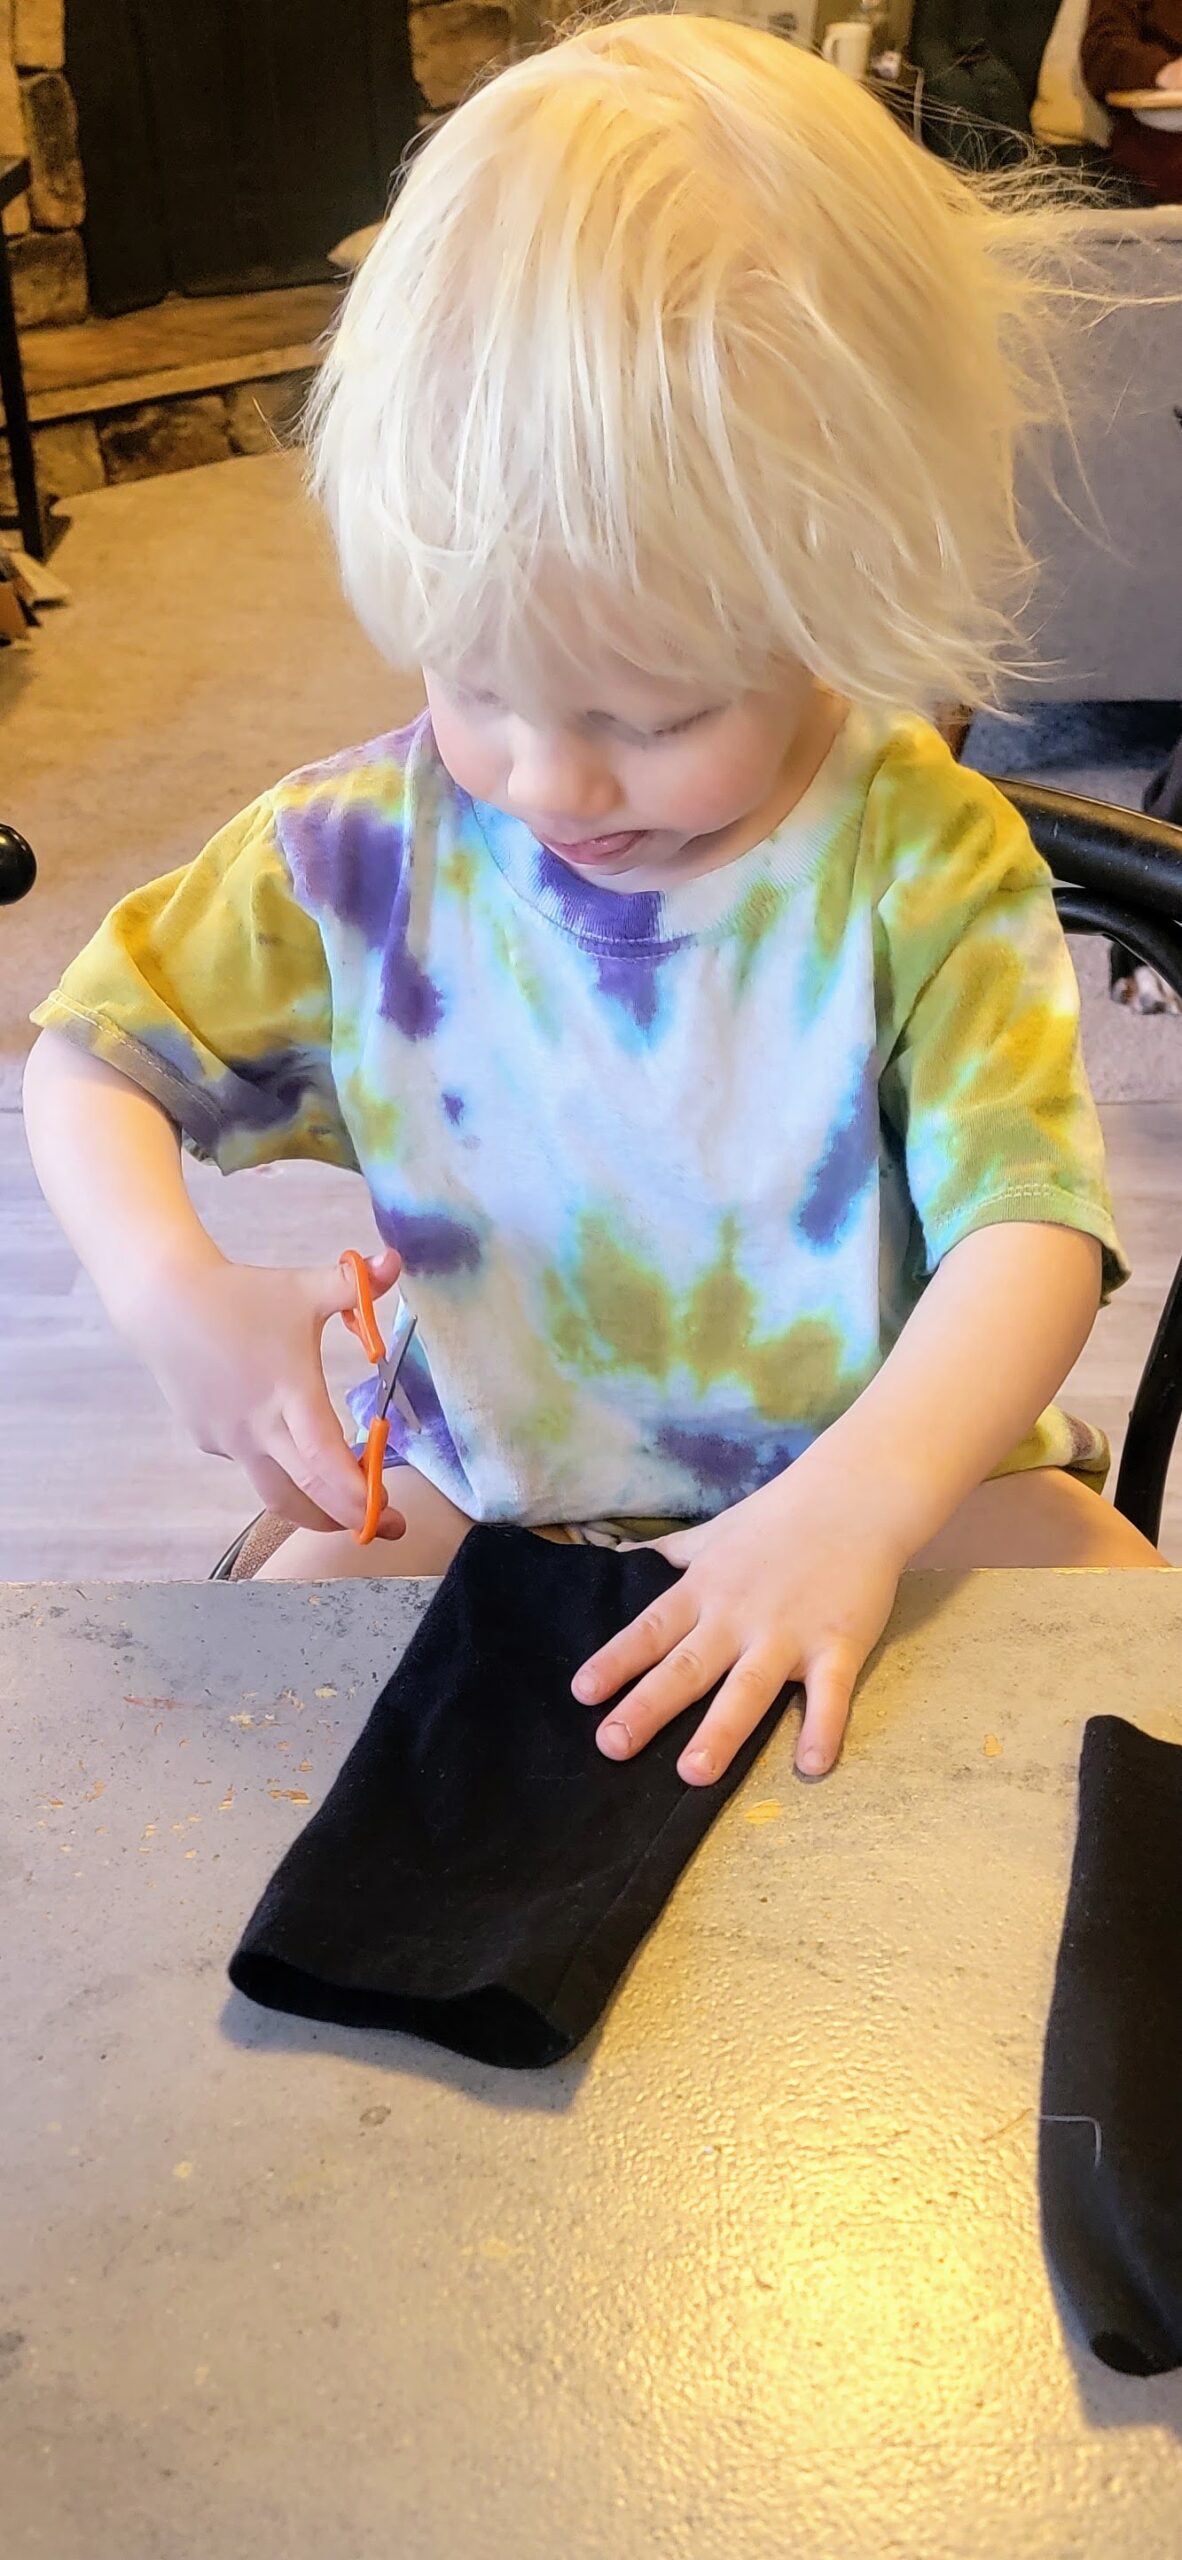
Little Dude using his “Little Boy” scissors to practice cutting
This is a project that can be done when you only have a short period of time to get one done. If you have multiple shirts to convert, it is a great way to spend an afternoon. Converting long sleeve shirts into new clothing items is a great way to decrease the amount of fabric that ends up in the landfill. It also can bring new life into a well loved shirt or clothing item that you are not ready to give up. Little Dude has some favorite long sleeve shirts that he now will get to wear for many more months!