Can Pets be Sustainable?
A question we often get is, “How do you have so many pets while being sustainable?”. For some people, having pets seems like an action that works directly against efforts to be more sustainable. However, over time and with practice, the needs of our pets have become one of the easiest sustainable swaps we have made. At first, the day-to-day needs of our feline friends felt like they would be the hardest to find sustainable swaps for. However, we have found sustainable swaps for the trifecta of cat needs: Litter, Food, and Cat Toys.
In our home we have four “kitty bois”, Apollo, Max, Meeko, and Kuzco which means having five litter boxes! Traditional kitty litter ends up in the landfill, so the first sustainable swap we made was switching to paper litter that we compost with Hillside Solutions. Apollo, Meeko, and Kuzco eat the same food, so we buy it at the largest volume possible. Max is a fancy boy who loves his wet food, so we make sure to buy his wet food in aluminum cans that we recycle.
The final item in the trifecta of our cats’ needs is having cat toys. Max and Apollo play with cat toys once in a blue moon, but Meeko and Kuzco spends most of their day playing with cat toys. One of Meeko’s favorite cat toys is a homemade cat toy that takes less than an hour to sew, and once it reaches its end of life we reuse the scraps.

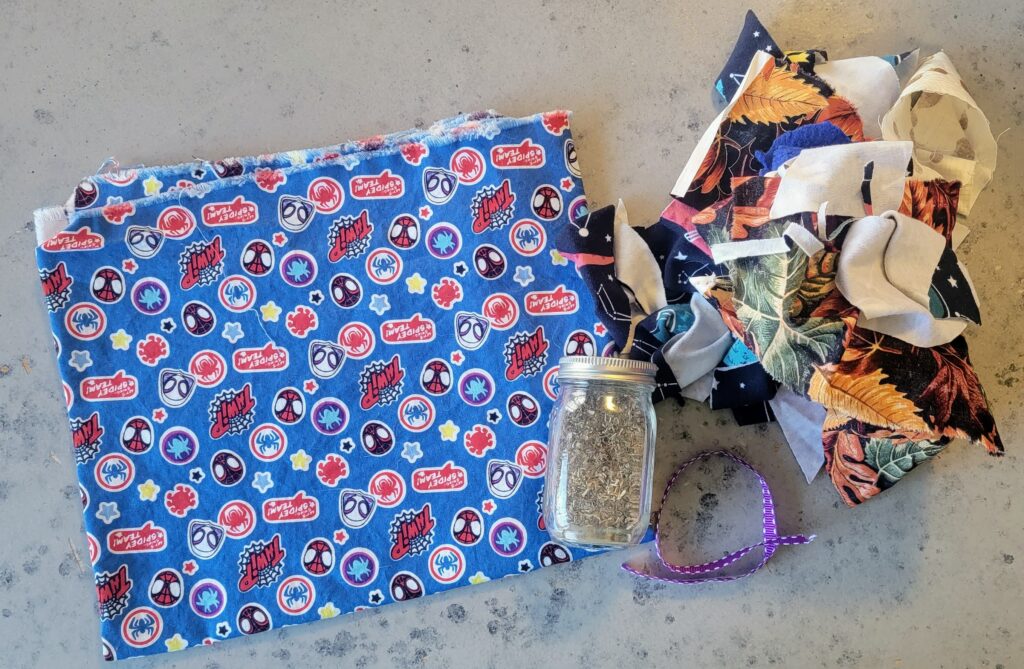
Supplies
A piece of fabric about 12 inches long by 5 inches wide
Scrap fabric for stuffing
Catnip
10 inches of scrap ribbon
Sewing machine or hand sewing supplies
Fabric scissors

Supplies Needed
Fabric, ribbon, catnip, stuffing, and sewing materials
Prepping to Make the Cat Toys
Like converting a long sleeve shirt to a t-shirt, this cat toy is incredibly easy to make. It also does not need perfect measurements to be functional. For fabric I am using some left over Spiderman fabric that is leftover from making masks. Instead of measuring, use the shortest edge of the fabric. Fold over the shortest edge of the fabric about two inches over and cut. For me, this resulted in having a folded piece of fabric about two inches by sixteen inches.
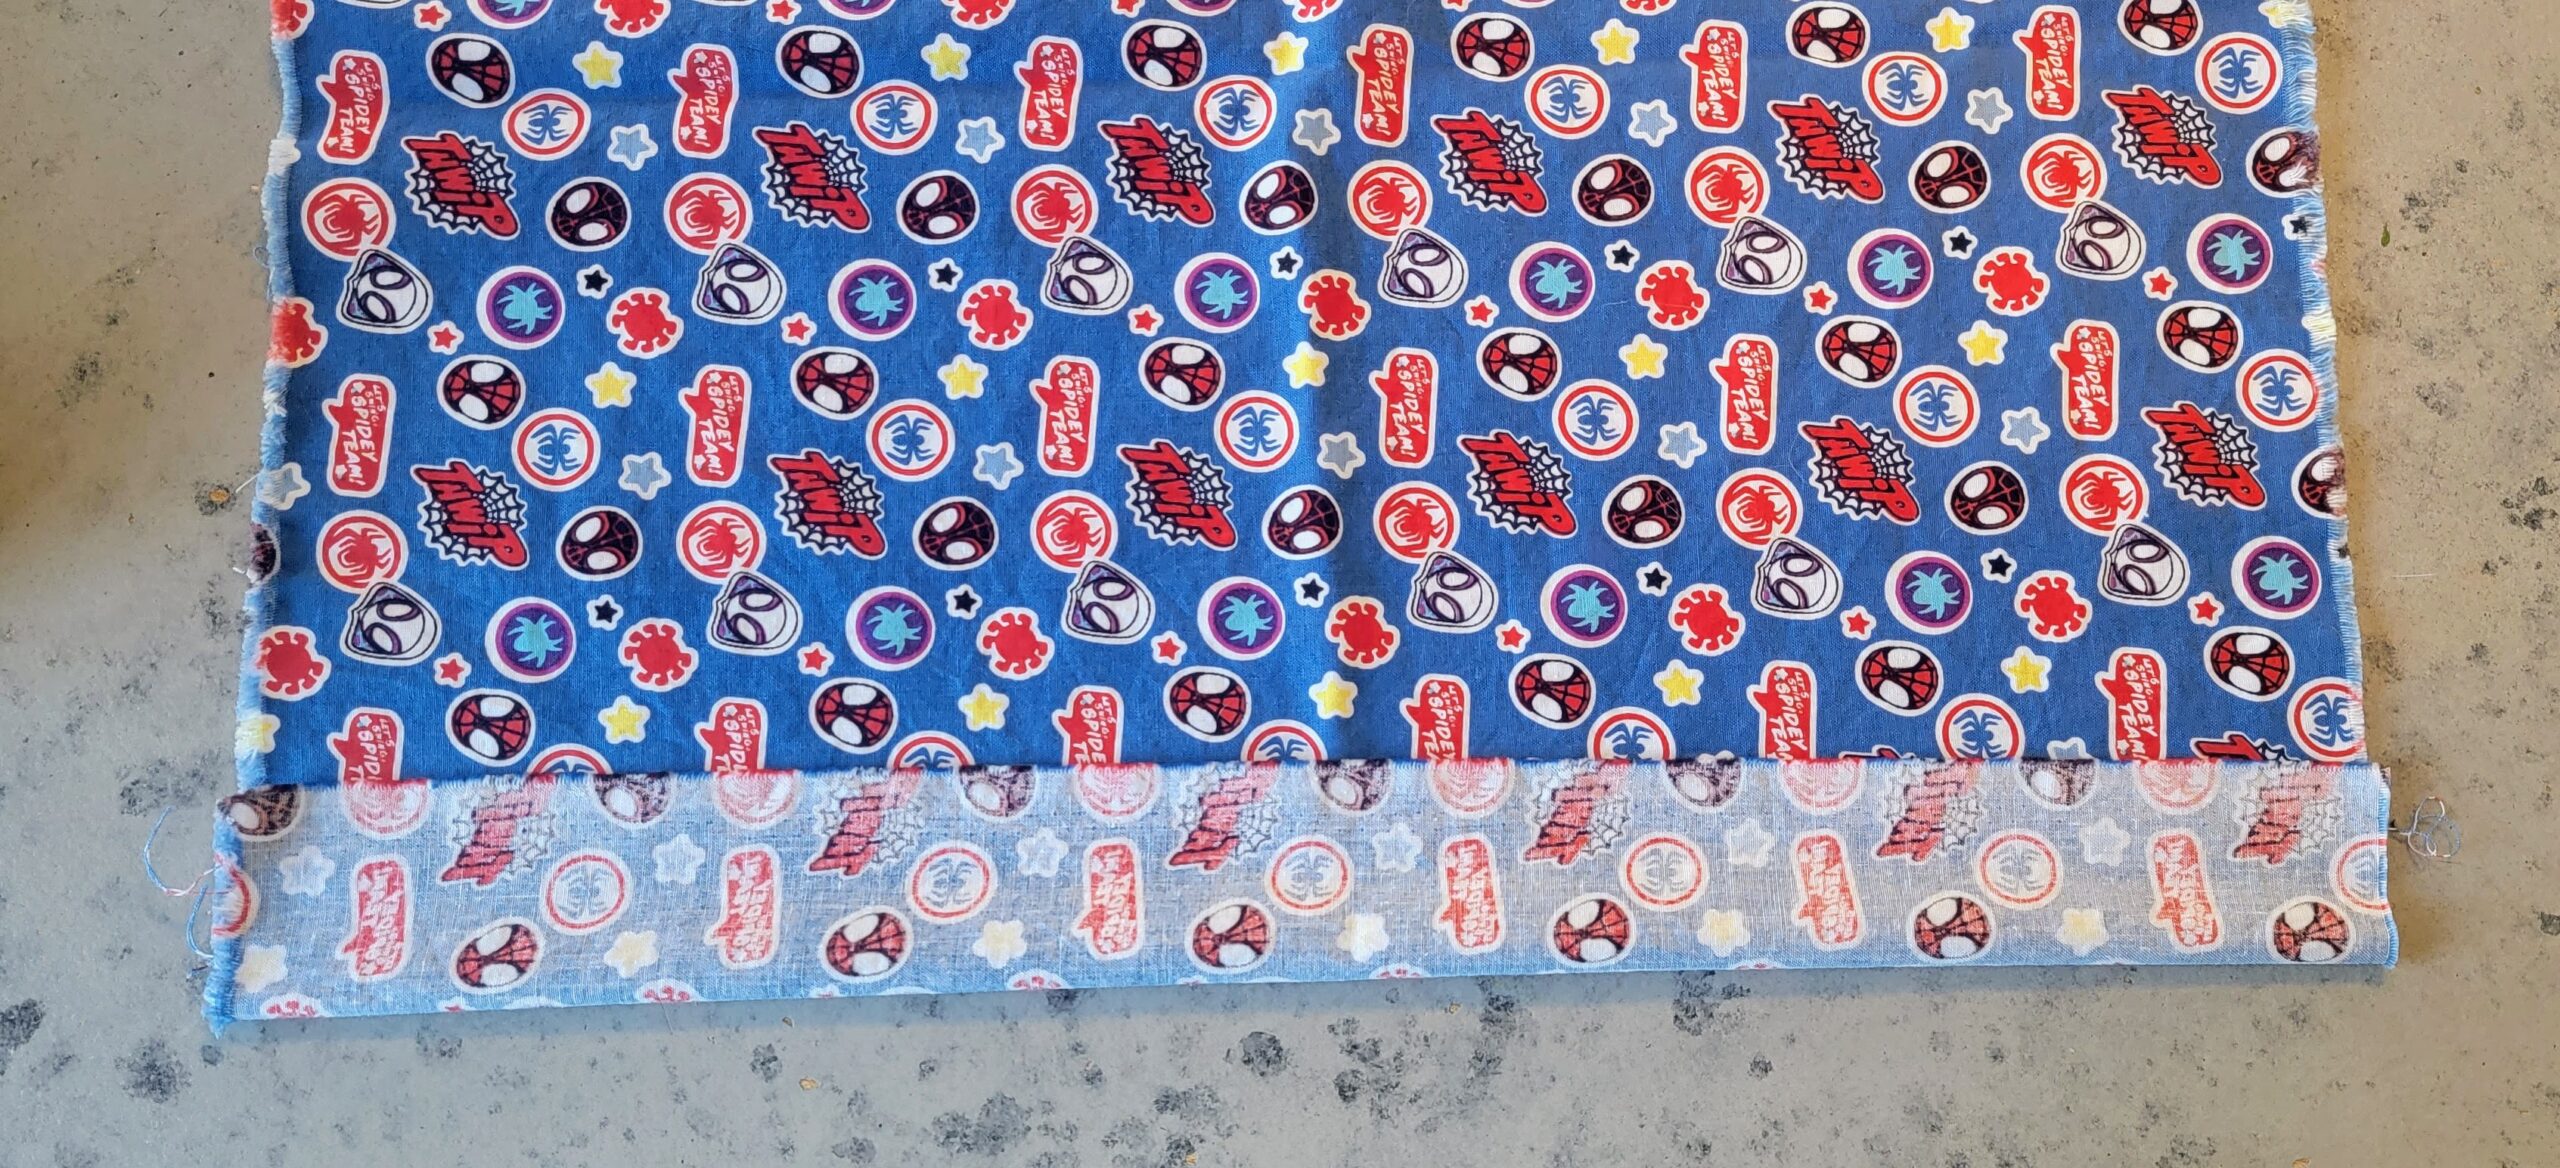
Scrap fabric with two inches folded over
From here, cut the fabric in half, creating two sections of folded over fabric. For me, this created two sections that are two inches by eight inches. Next, unfold one of the pieces of fabric so the right side of the fabric is facing up. Then cut your scrap ribbon in half, and place it on the right side facing up fabric. Place the ribbon where when you fold the fabric in half the ribbon is in the middle.
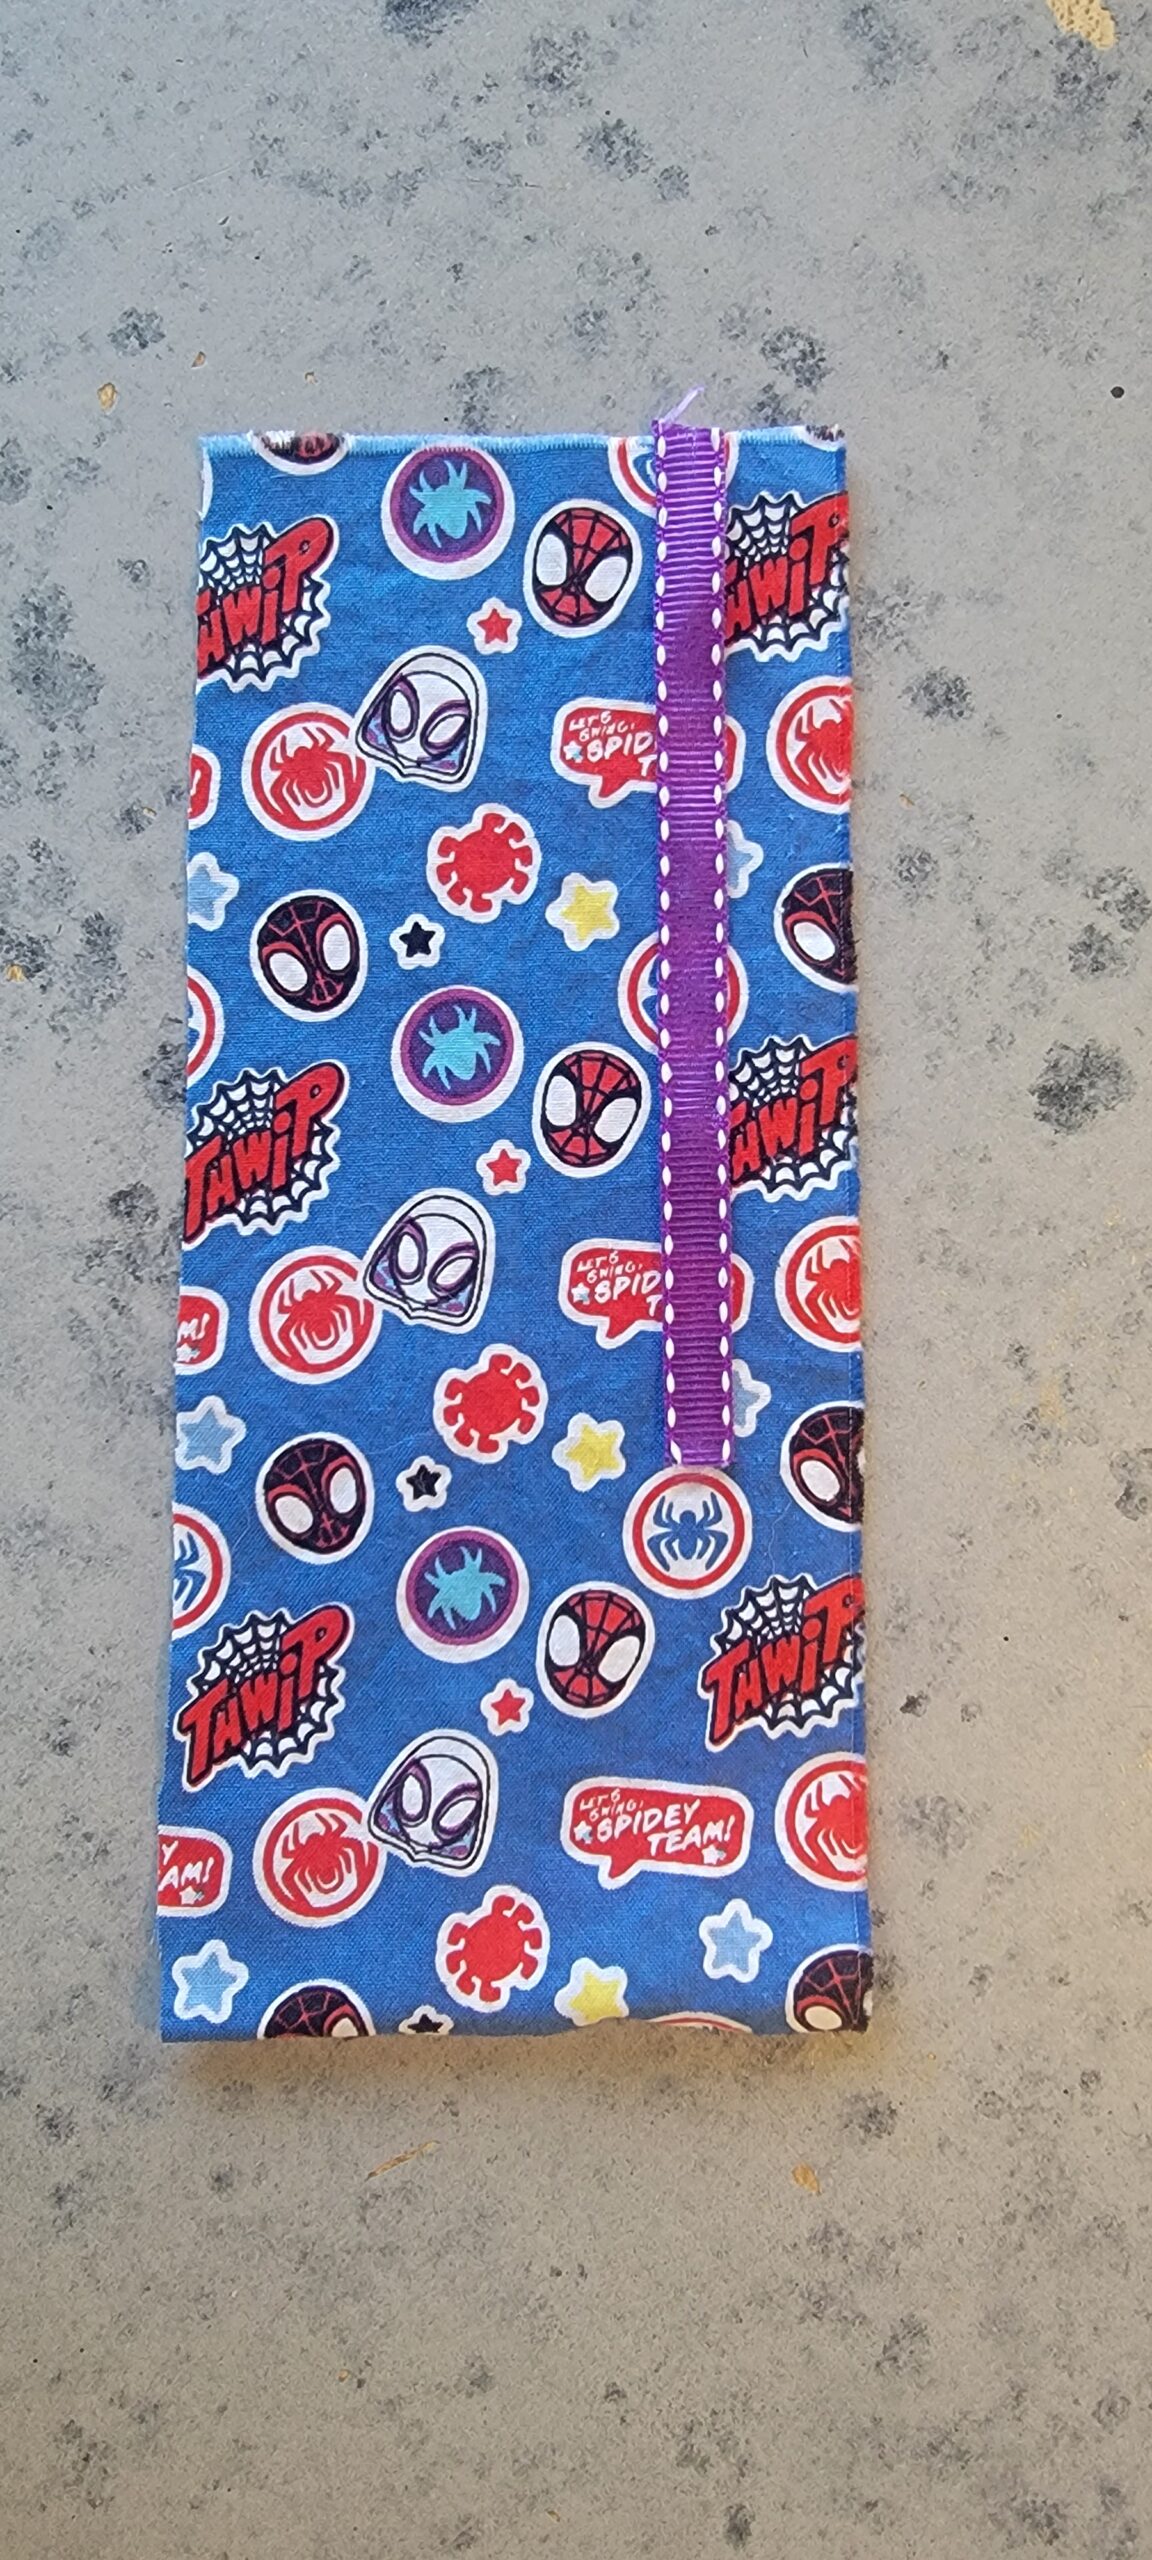
Fabric right side up with ribbon placed
Sewing the Cat Toys
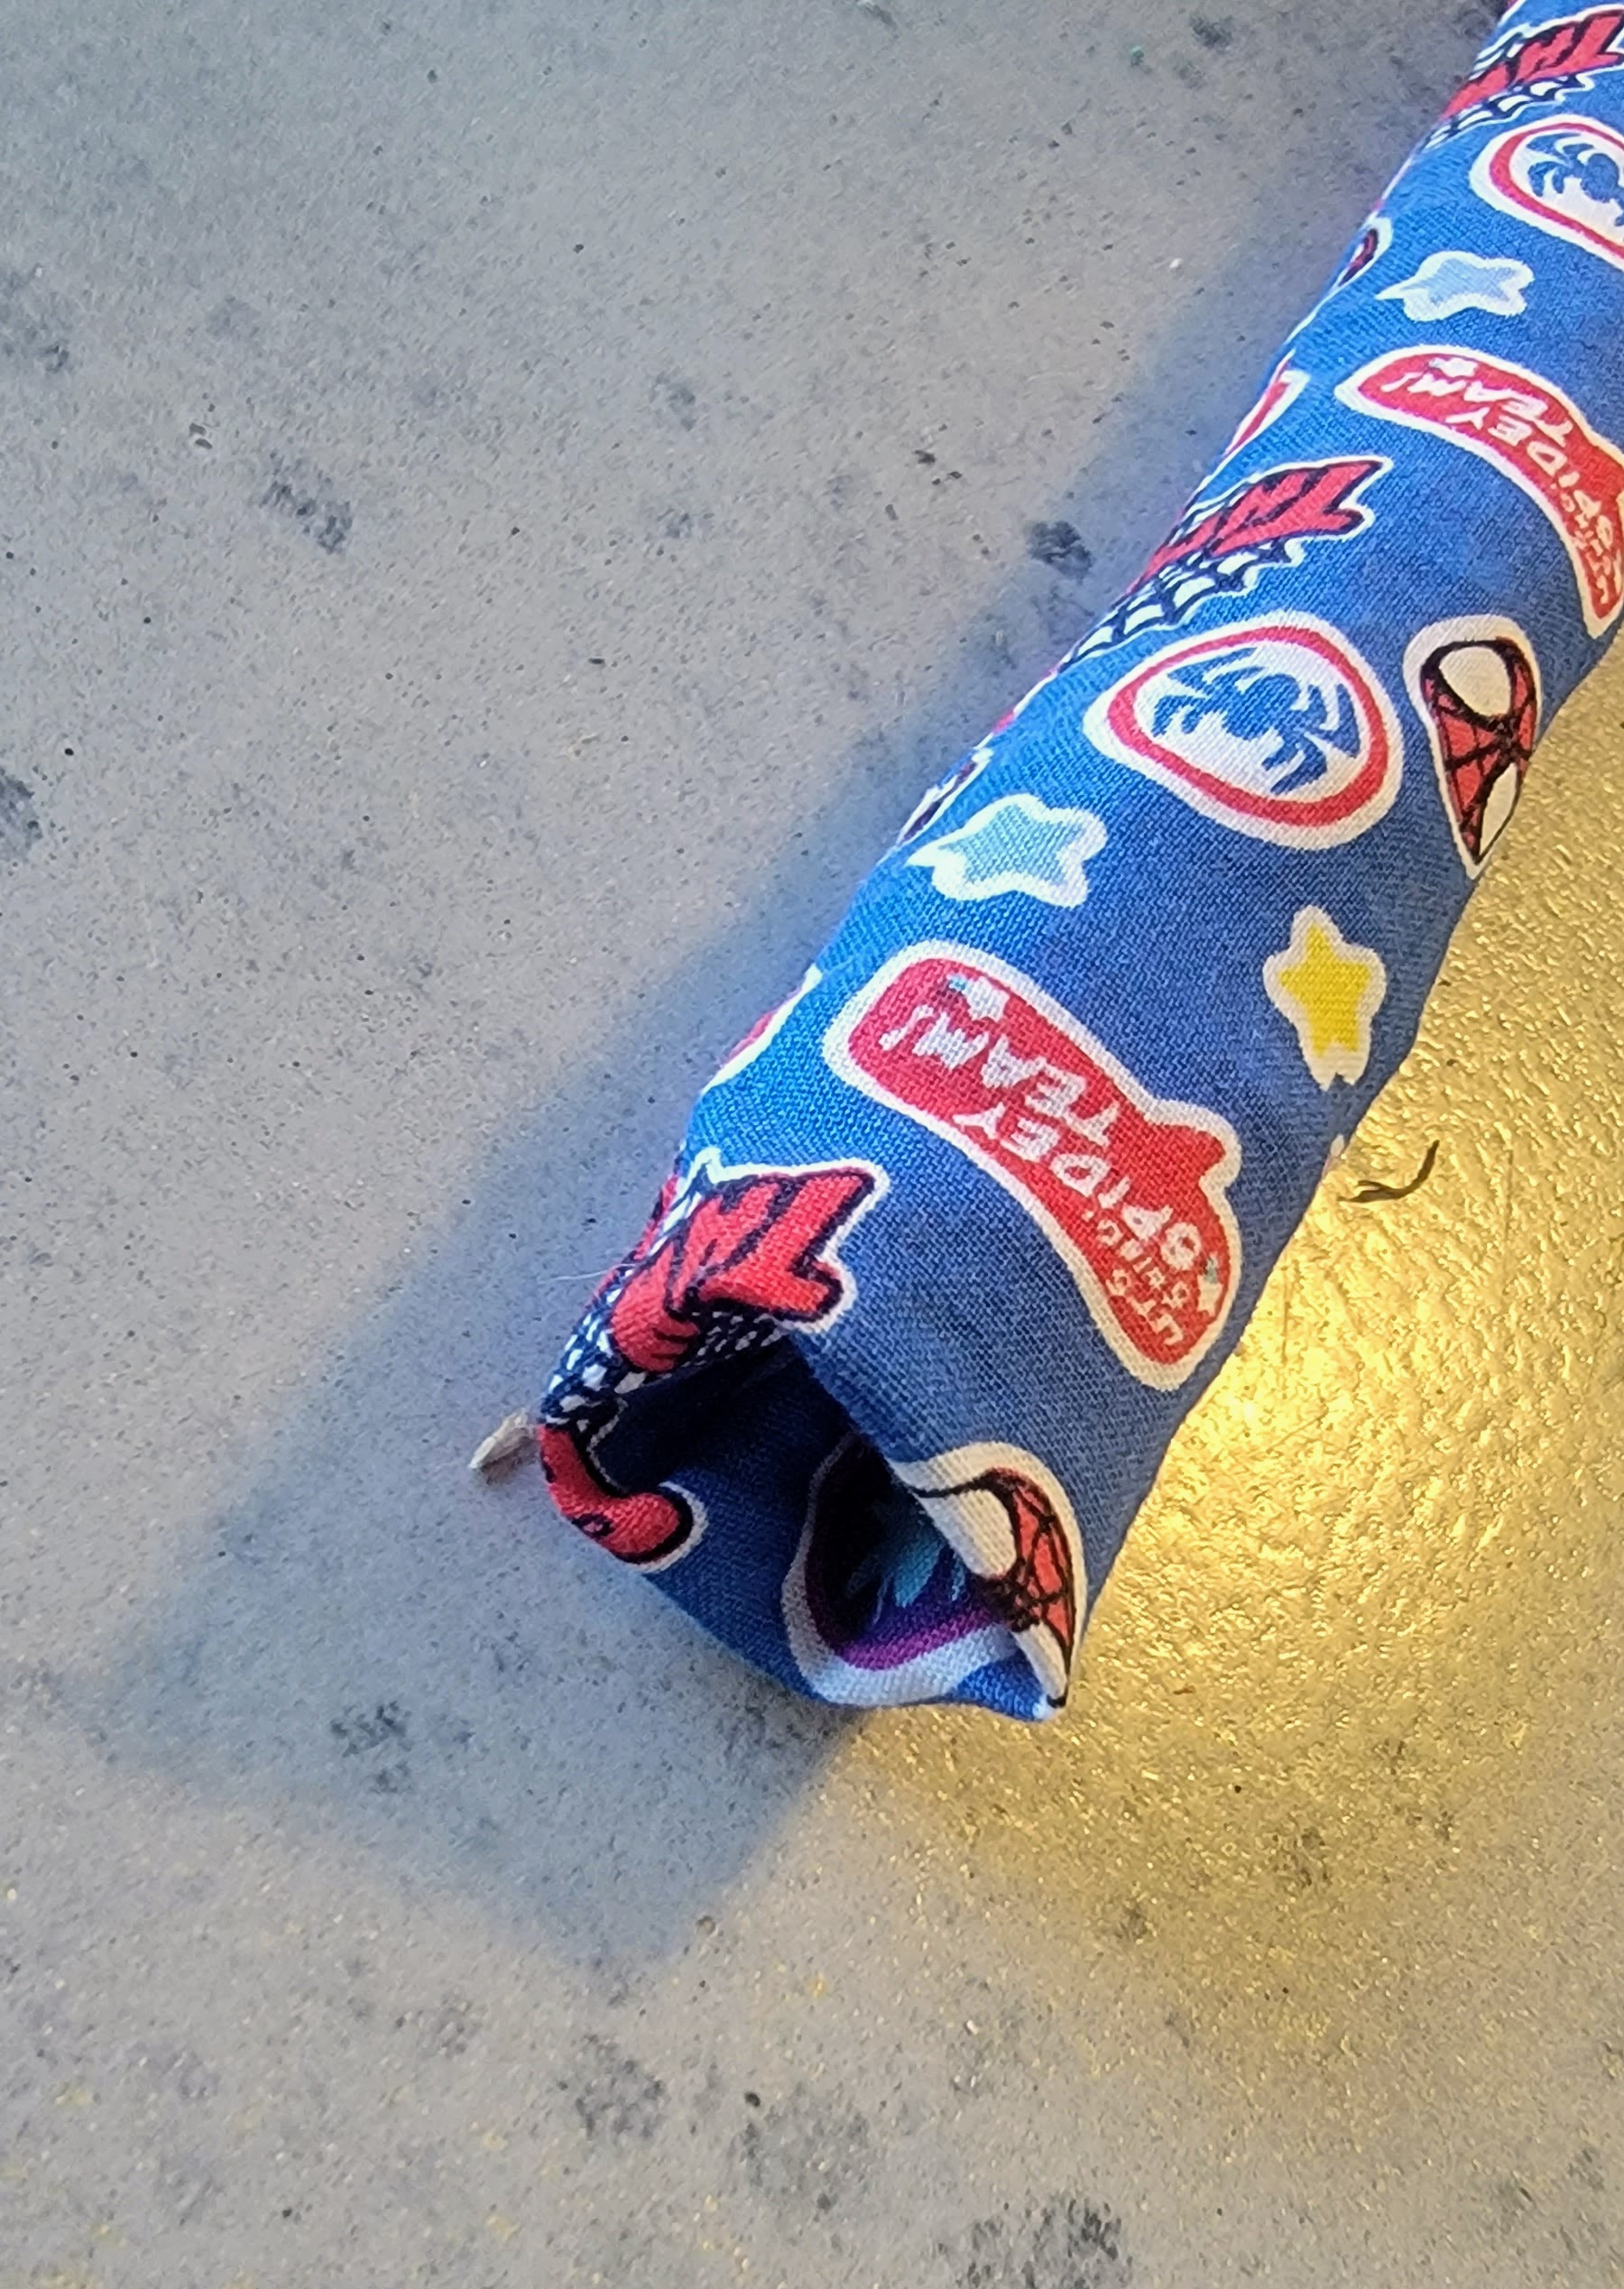
Next, sew all the edges except from the short edge opposite of the edge with the ribbon. Once it has been sewed, turn the tube right side out. I have found that our metal reusable chopsticks are the best thing to turn these cat toys inside out.
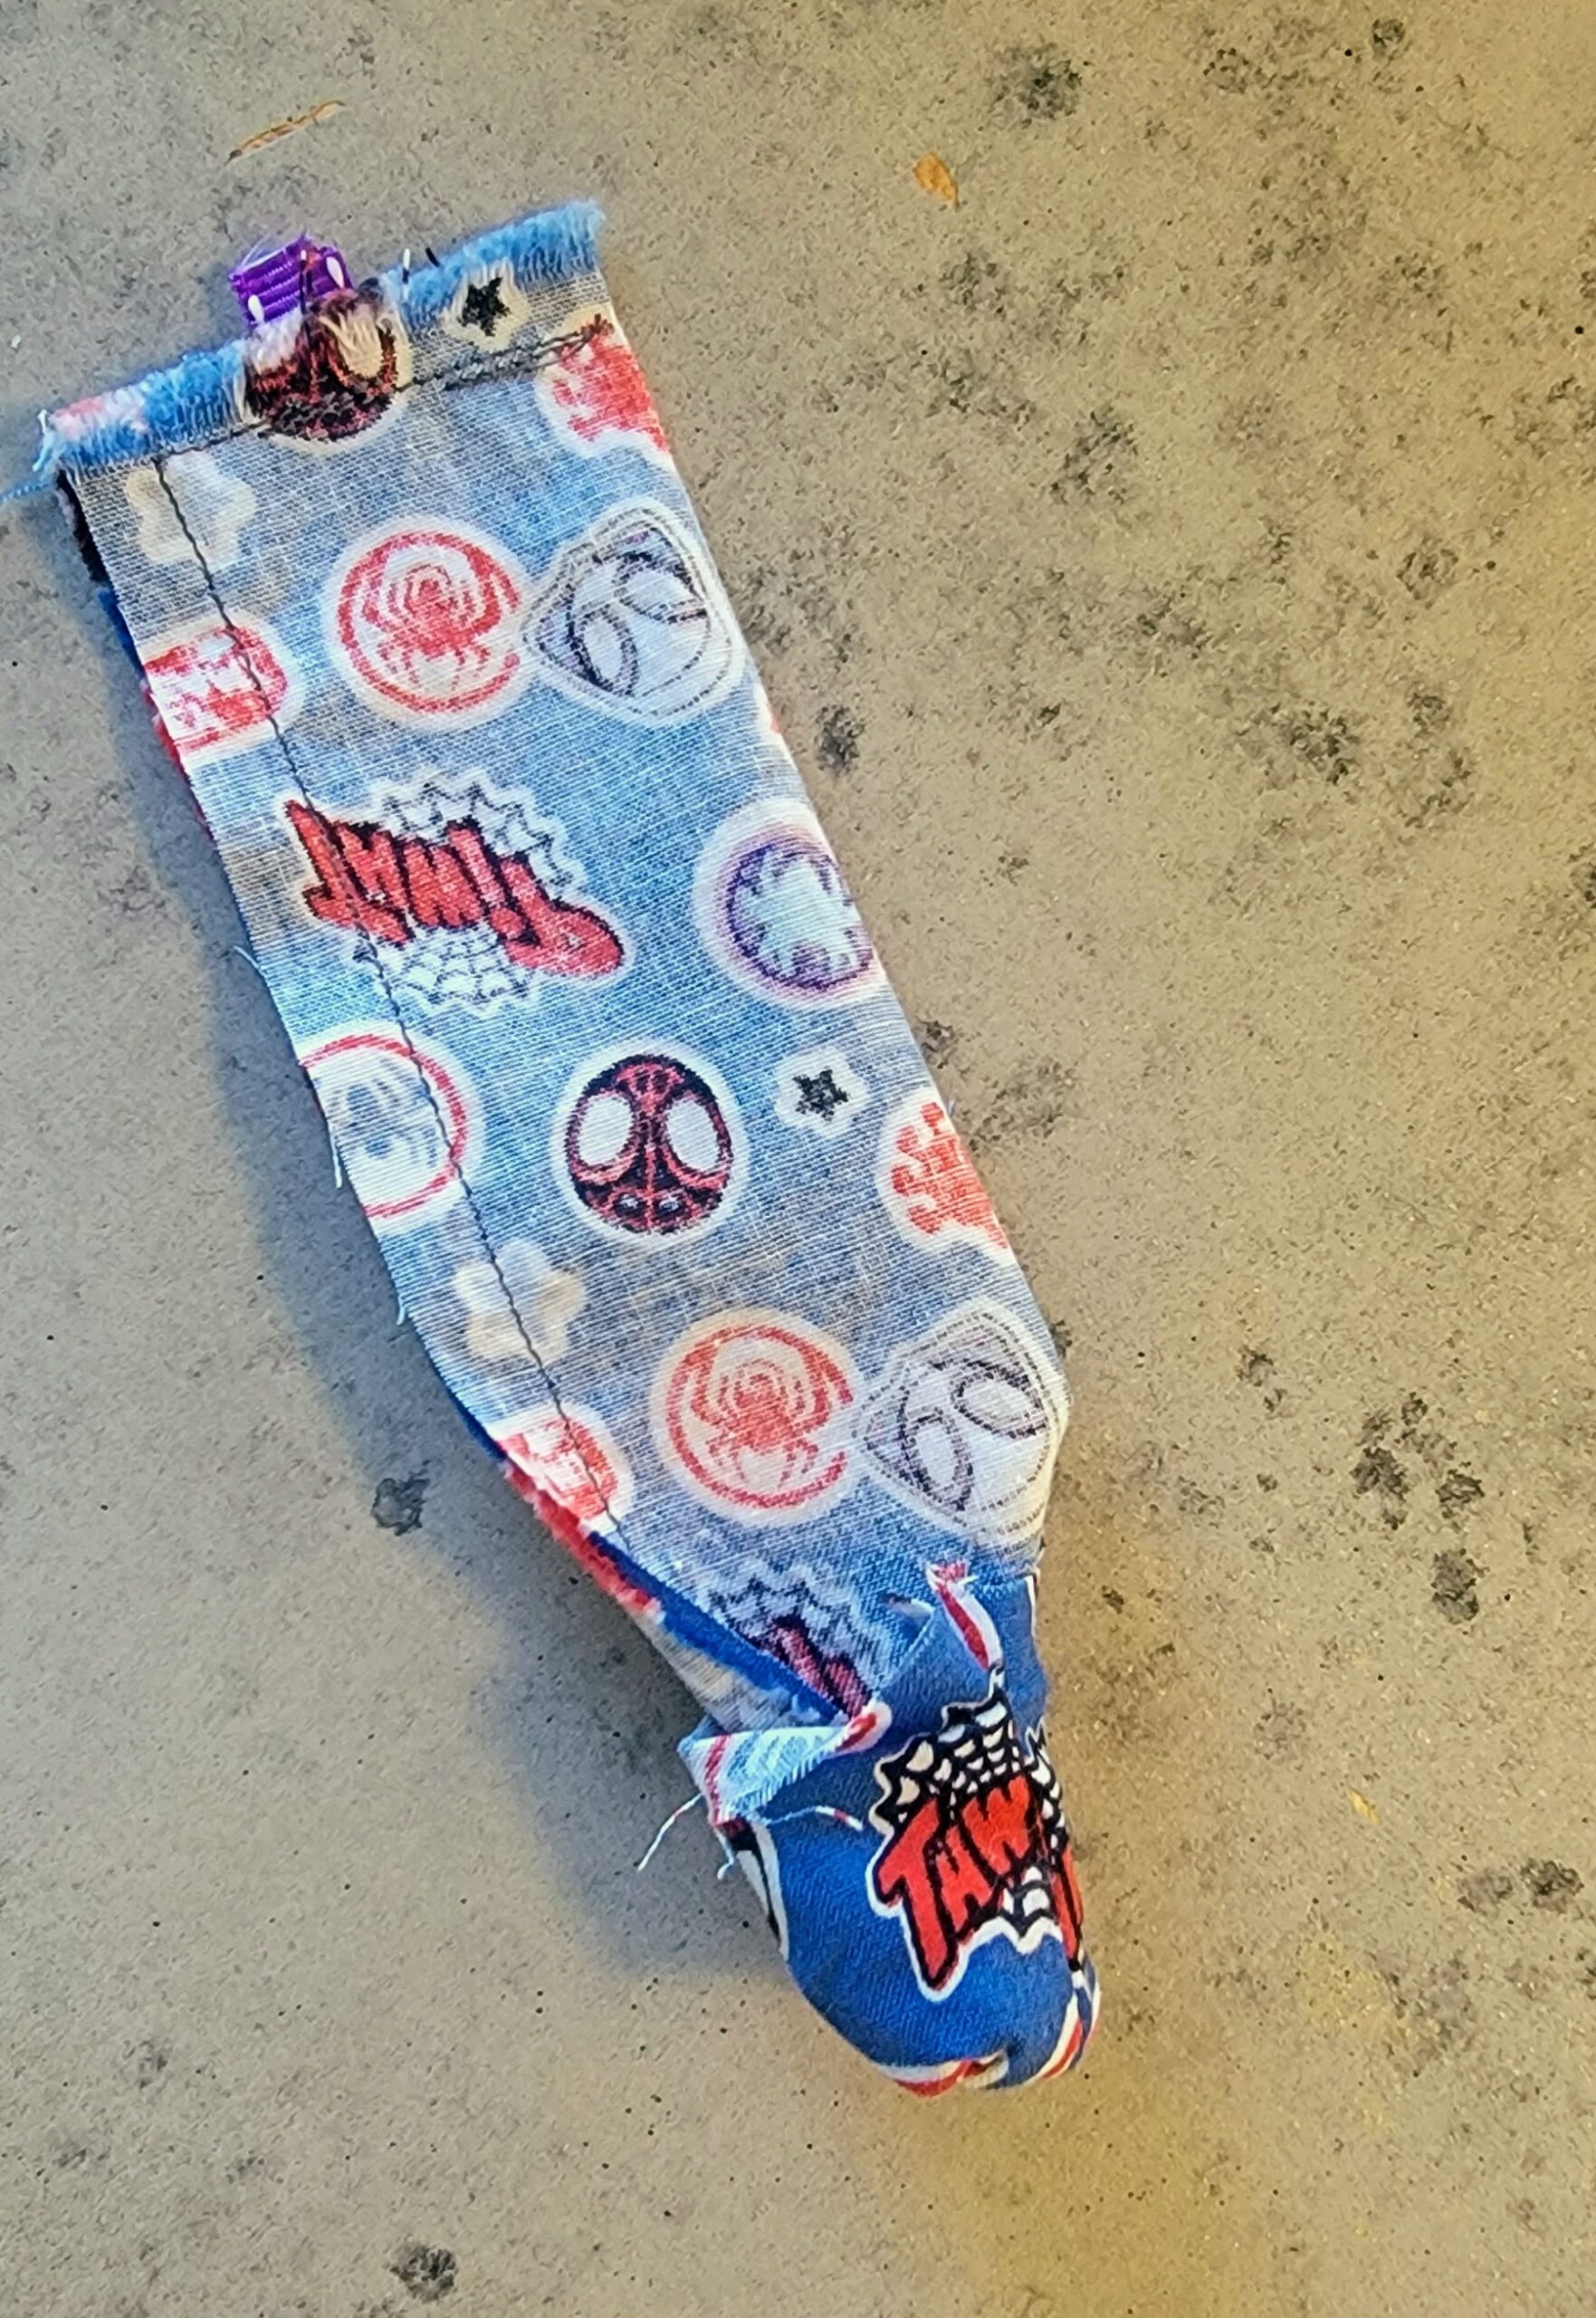
Cat toy in the process of being turned inside out
After you turn the project right side out, it is time to stuff! Do this by alternating layers of cut up scrap fabric and catnip until the toy is fully stuffed. You should have about an inch of fabric at the top unstuffed. To finish the project, fold down about a half of an inch of fabric into the tube. Sew across the top of the cat toy, sealing the project.
Edge of cat toy with end folded in
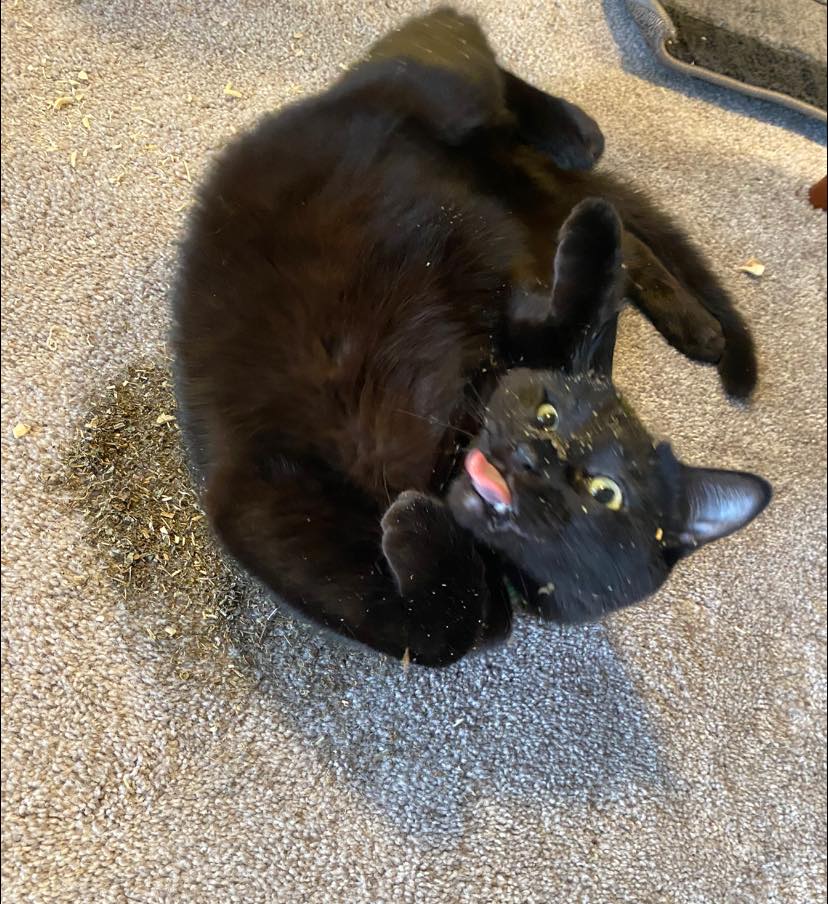
Testing the Cat Toys
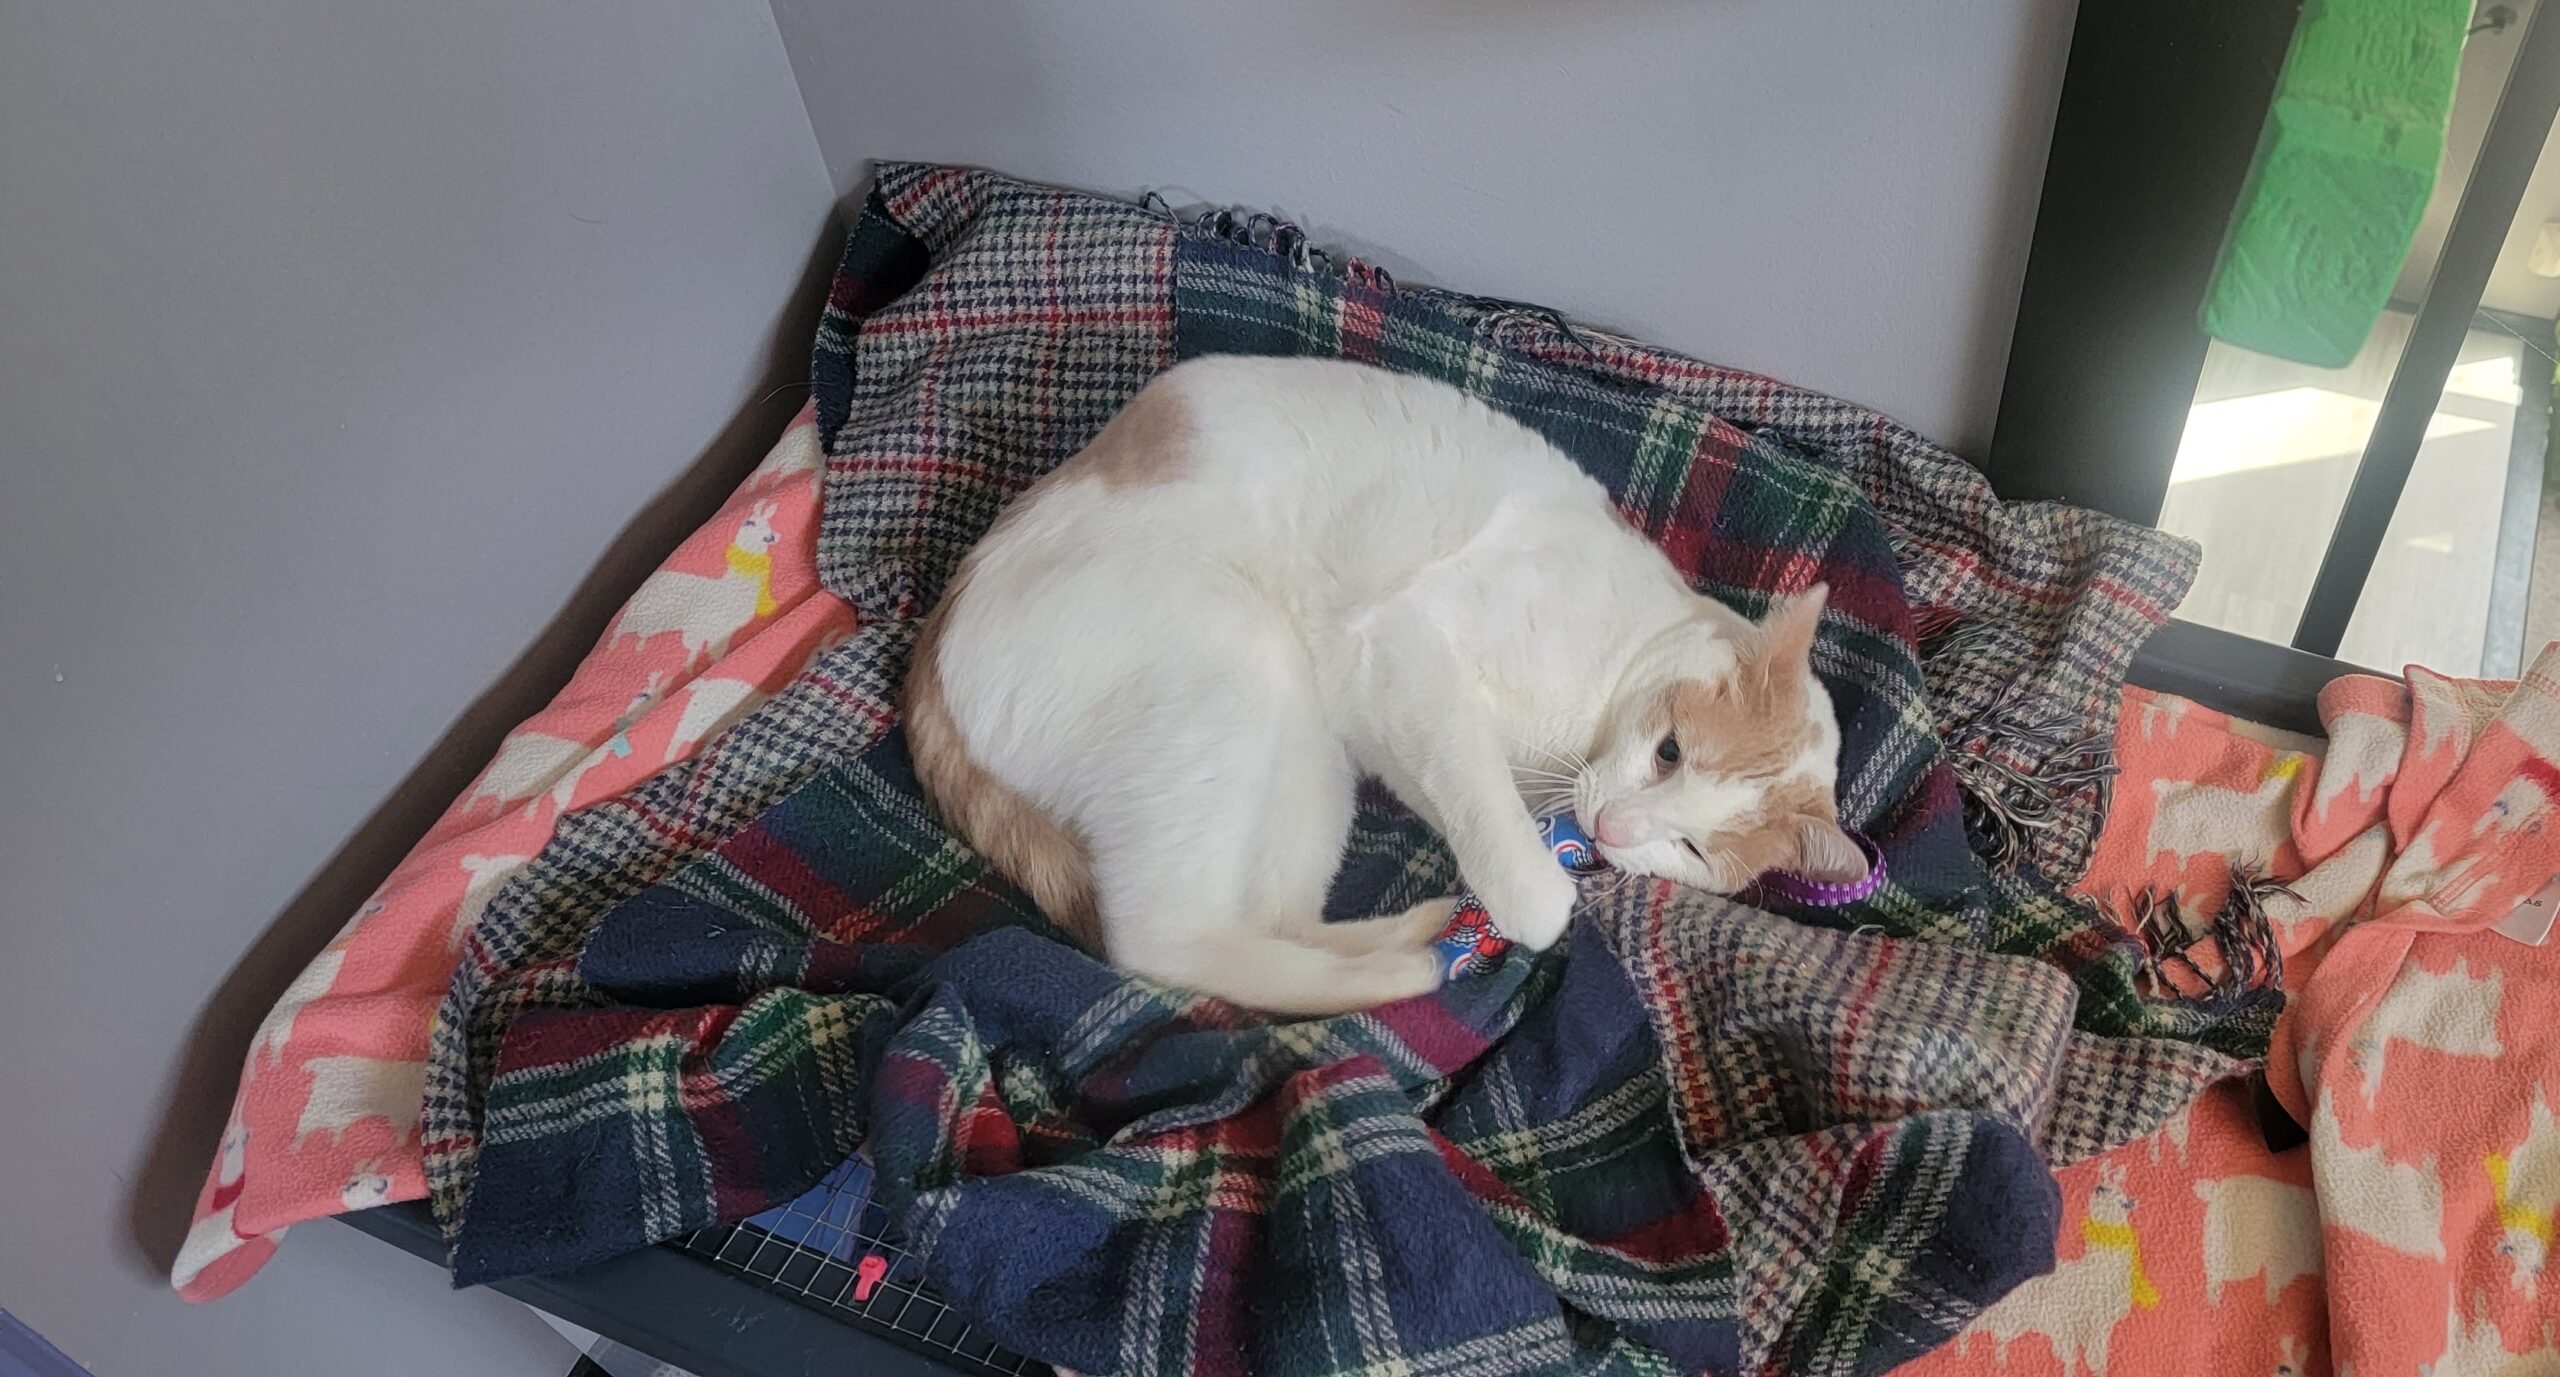
Once you finish the project, find the nearest cat and watch them play! Once the toy has been well used and loved, reuse it for stuffing. I take previously made cat toys that are no longer safe for playing and cut them up to use as stuffing for a new batch of cat toys.
Project Complete
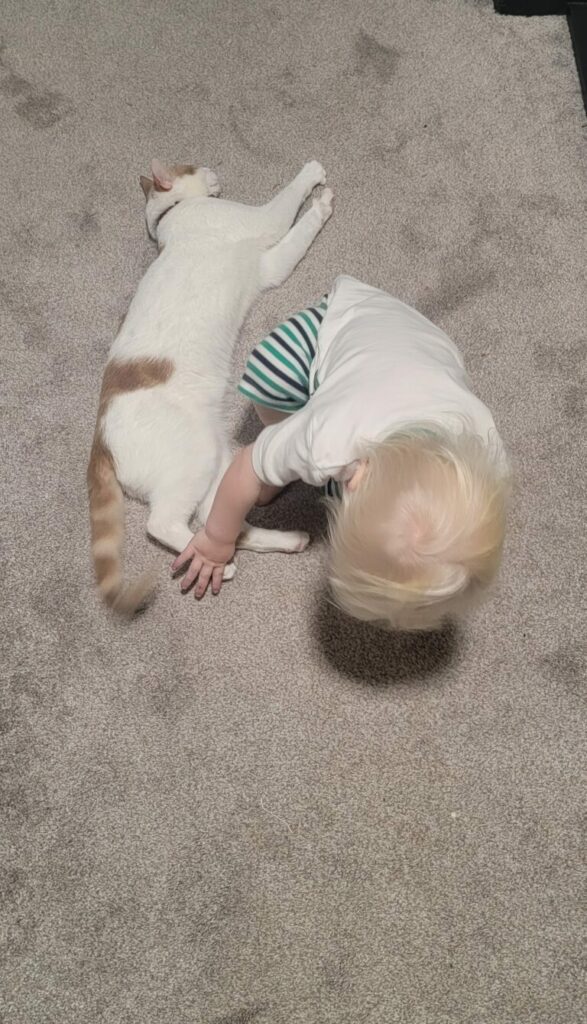
Meeko loves his new cat toy